How to Make a Classical Horn Mouthpiece
Because of the unusual construction of the sheet-metal Classical horn mouthpiece, it may be interesting to outline the steps involved in copying one. The construction differs greatly from standard mouthpiece-making. The modern mouthpiece is made from a single solid cylinder of brass which is bored out and shaped on the lathe, resulting usually in a relatively heavy piece which is silver- or gold-plated. Though the practice of turning mouthpieces from solid metal or other materials was not unheard-of in the 18th century, forming from sheet metal seems to have been more common.
Step 1)
The dimensions are taken from the original by making a wax cast of the interior of the mouthpiece and measuring the inner and outer diameters and shape of the rim with calipers. These castings show the differences between a Classical (left) and modern mouthpiece.
Step 2)
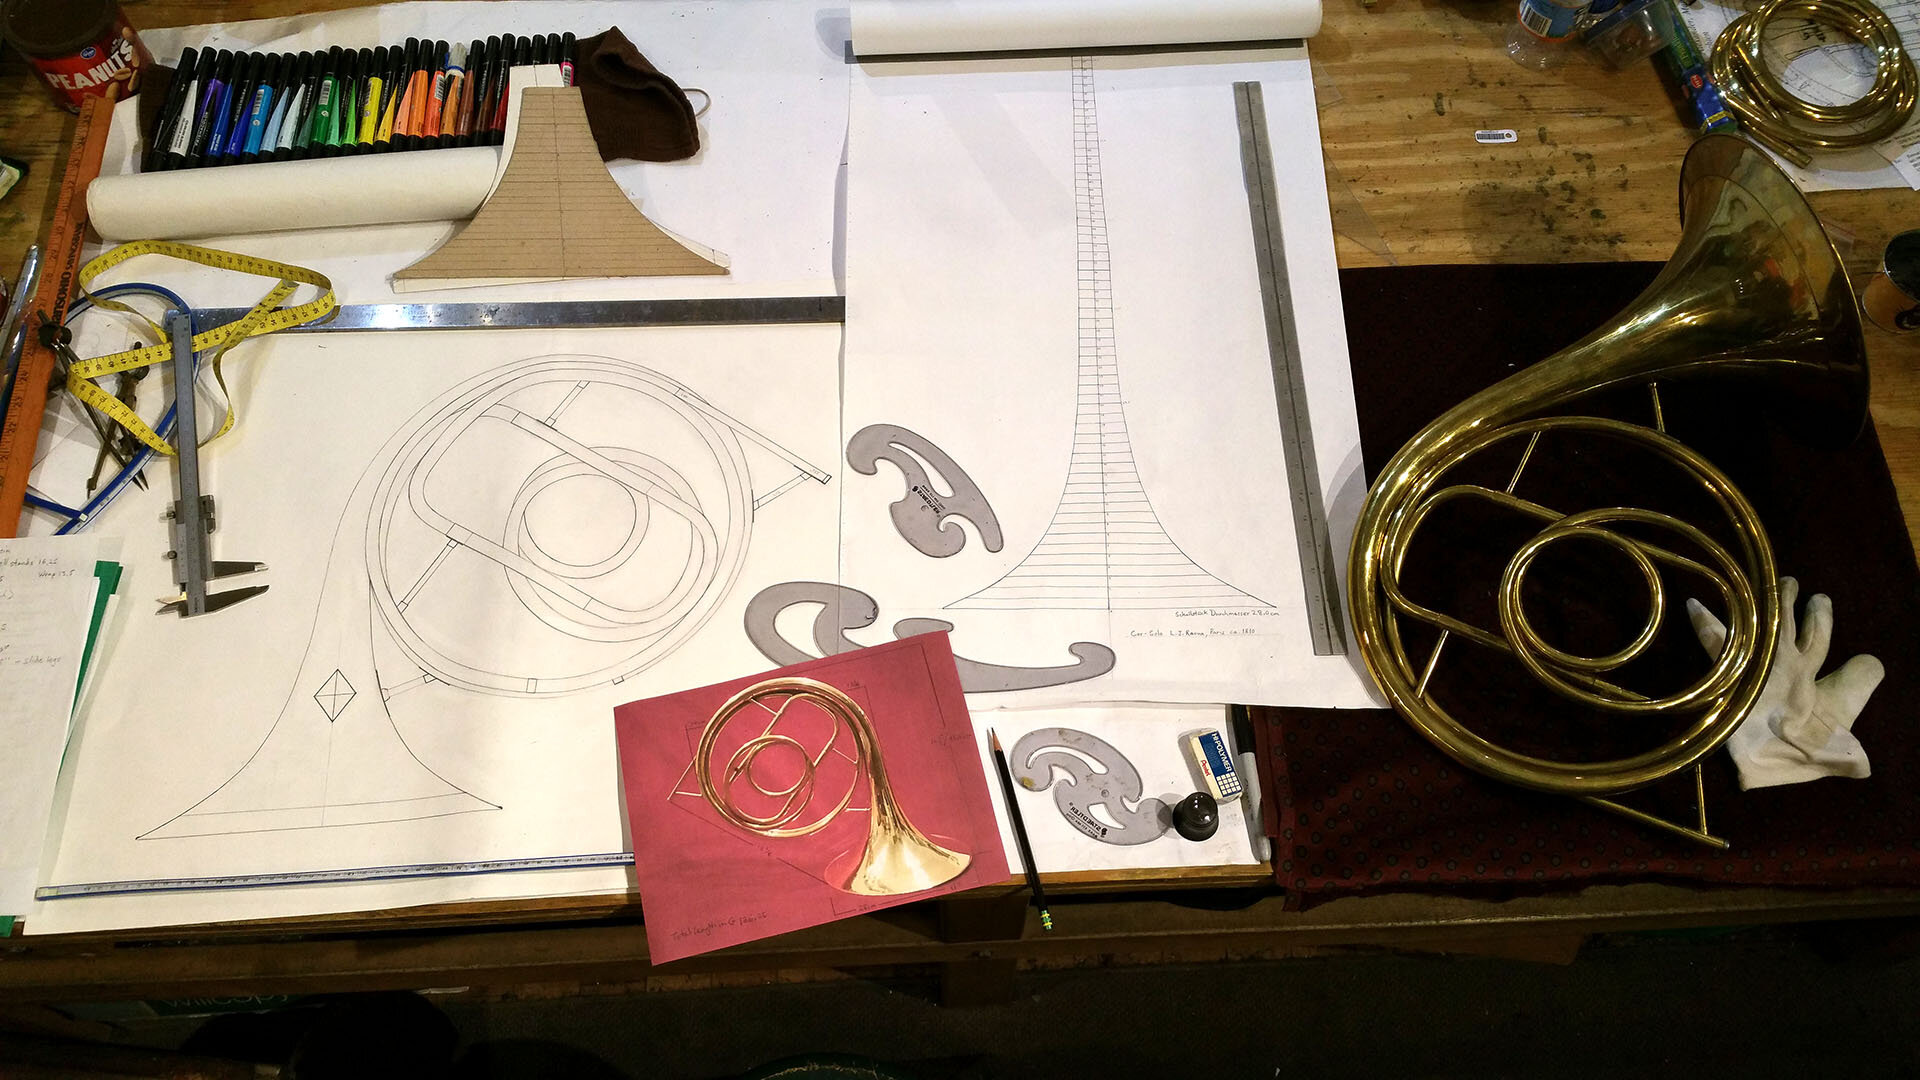
The dimensions of the wax cast are used to make a steel mandrel on a lathe upon which the body of the mouthpiece is formed. At this point a pattern must be made which will be used to determine the shape of the sheet metal that is to be cut out to form the body.
Step 3)
Once the pattern is made, it can be traced onto a sheet of metal (brass or silver) which is cut out and formed into a cone, and the seam joined with a high-temperature silver solder.
Step 4)
When formed and soldered, the cone is made to fit loosely over the mandrel (which requires some hammering or other form of persuasion as the cone is necessarily slightly curved when formed in this way).
Step 5)
The drawing process makes the tentatively shaped cone conform perfectly to the shape of the mandrel. The mandrel over which the cone has been placed is drawn or pushed, depending on the method used, through a soft iron washer, the hole of which is the size of the small end of the mandrel. As the mandrel and sheet metal cone are drawn through, the hole in the washer expands and the sheet metal, being softer than the washer, is compressed very tightly onto the mandrel, taking on its shape exactly. The fully formed cone is then trimmed on both ends on the lathe to the appropriate length and the outer surface polished to remove all marks and irregularities left from the drawing.
Step 6)
The rim is turned on the lathe from a thick disk cut from the end of a 1-inch diameter brass rod. The hole is then drilled through the disk, corresponding in size to the inside diameter of the large end of the already formed cone. The hole can be enlarged slightly about halfway through the disk so that the large end of the body can be inserted and meet flush with the original hole for an accurate fit and to give more surface contact for a good solder joint. The outside of the rim is then shaped on the lathe, establishing the roundness and inner and outer diameters. If silver is used, the rim can be cast in a mold closer to its finished shape to avoid wasting metal, then finished on the lathe.
There is also an alternative method of forming the rim, which is to make the initial cone longer on the large end, then form the rim by turning over the edge of this excess metal all around. This would involve much stretching of the metal. Though I have not used this method, it would seem to be more time-consuming and make it more difficult to obtain a round and uniform rim.
Step 7)
If an extra sleeve forming a shank was present on the original, it can now be made from a piece of tubing tapered on a small steel mandrel that matches the taper of the mouthpiece inlet of the horn. The sleeve is trimmed to the proper length and is ready to be slipped over the small end of the body and soldered into place.
Step 8)
The finished rim, body, and shank can now be soldered together with a lower-melting-point silver solder than that used to join the seam on the body, and given a final polishing.
Step 9)
The finished Classical horn mouthpiece.


